How to Install JDownloader 2 on Your Synology NAS

JDownloader 2 is a free, open-source download management tool with a huge community of developers that makes downloading as easy and fast as it should be. Users can start, stop or pause downloads, set bandwidth limitations, auto-extract archives and much more. It’s an easy-to-extend framework that can save hours of your valuable time every day. In this step by step guide I will show you how to install JDownloader 2 on your Synology NAS using Docker.
STEP 1
Please Support My work by Making a Donation.
STEP 2
Install Docker via Synology “Package Center”.

STEP 3
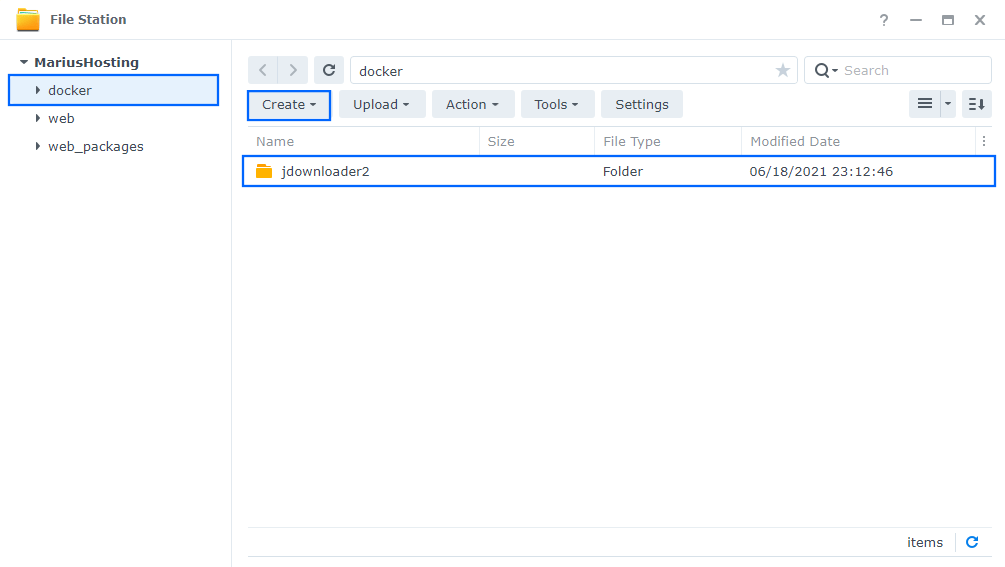
Go to File Station and open the docker folder. Inside the docker folder, create one new folder and name it jdownloader2. Follow the instructions in the image below.
Note: Be careful to enter only lowercase, not uppercase letters.
STEP 4
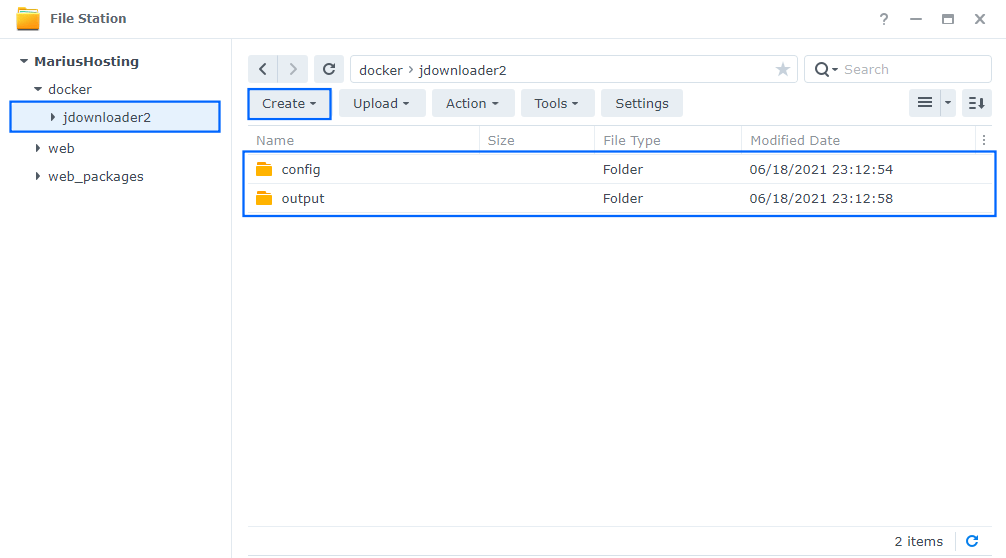
Now create two new folders inside the jdownloader2 folder that you created at STEP 3 name one “config” and the other “output“. Follow the instructions in the image below.
Note: Be careful enter only lowercase, not uppercase letters.
STEP 5
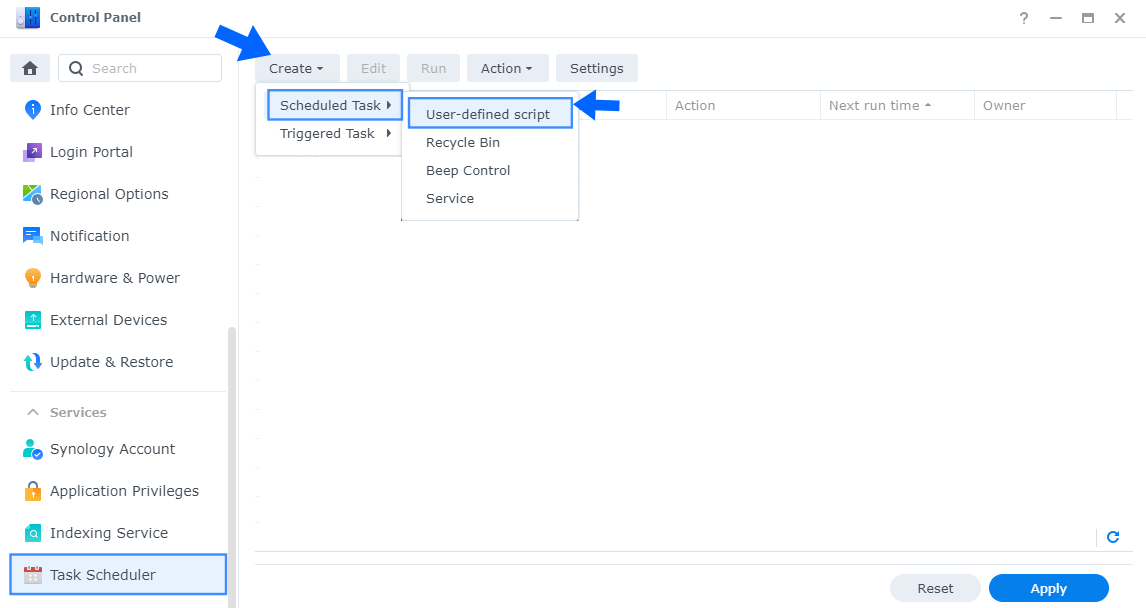
Go to Control Panel / Task Scheduler / Create / Scheduled Task / User-defined script. Follow the instructions in the image below.
STEP 6
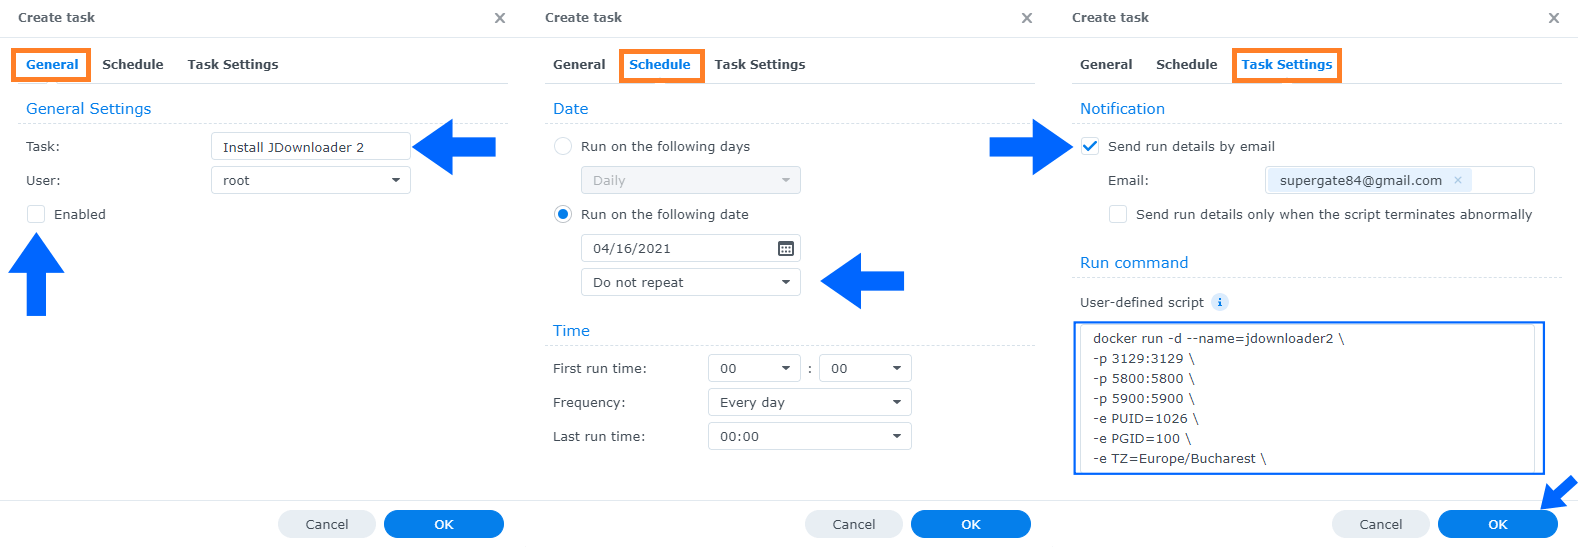
Once you click on User-defined script a new window will open. Follow the instructions below:
- General: In the Task field type in “Install JDownloader 2“. Uncheck “Enabled” option. Select root User.
- Schedule: Select Run on the following date then select “Do not repeat“.
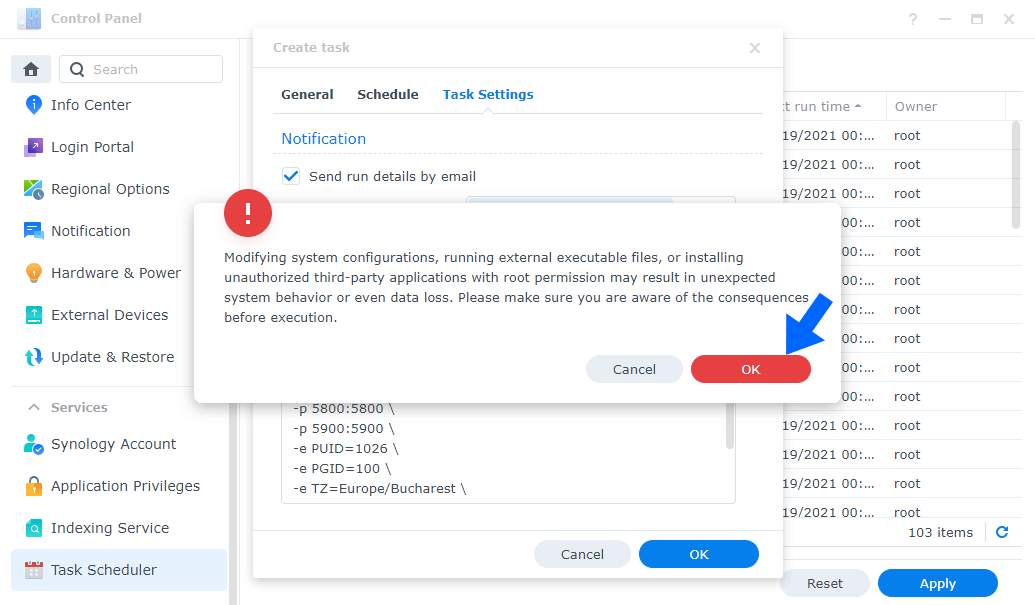
- Task Settings: Check “Send run details by email“, add your email then copy paste the code below in the Run command area. After that click OK.
docker run -d --name=jdownloader2 \
-p 3129:3129 \
-p 5800:5800 \
-p 5900:5900 \
-e PUID=1026 \
-e PGID=100 \
-e TZ=Europe/Bucharest \
-v /volume1/docker/jdownloader2/config:/config \
-v /volume1/docker/jdownloader2/output:/output \
--restart always \
jlesage/jdownloader-2
Note: Before you paste the code above in the Run command area below, change the value numbers for PUID and PGID with your own values. (Follow my step by step guide on how to do this.)
Note: Before you paste the code above in the Run command area below, change the value for TZ (Select your current Time Zone from this list).
STEP 7
After you click OK on STEP 6 a new warning pop up window will open. Click OK.
STEP 8
After you click OK on STEP 7, select your “Install JDownloader 2” Task then click the “Run” tab. You will be asked to run Install JDownloader 2 – click Yes. Follow the instructions in the image below.

STEP 9
Go back to STEP 1 or you will deal with karma 🙂
STEP 10
The installation process can take up to a few seconds/minutes. It will depend on your Internet speed connection. Now open your browser and type in http://Synology-ip-address:5800
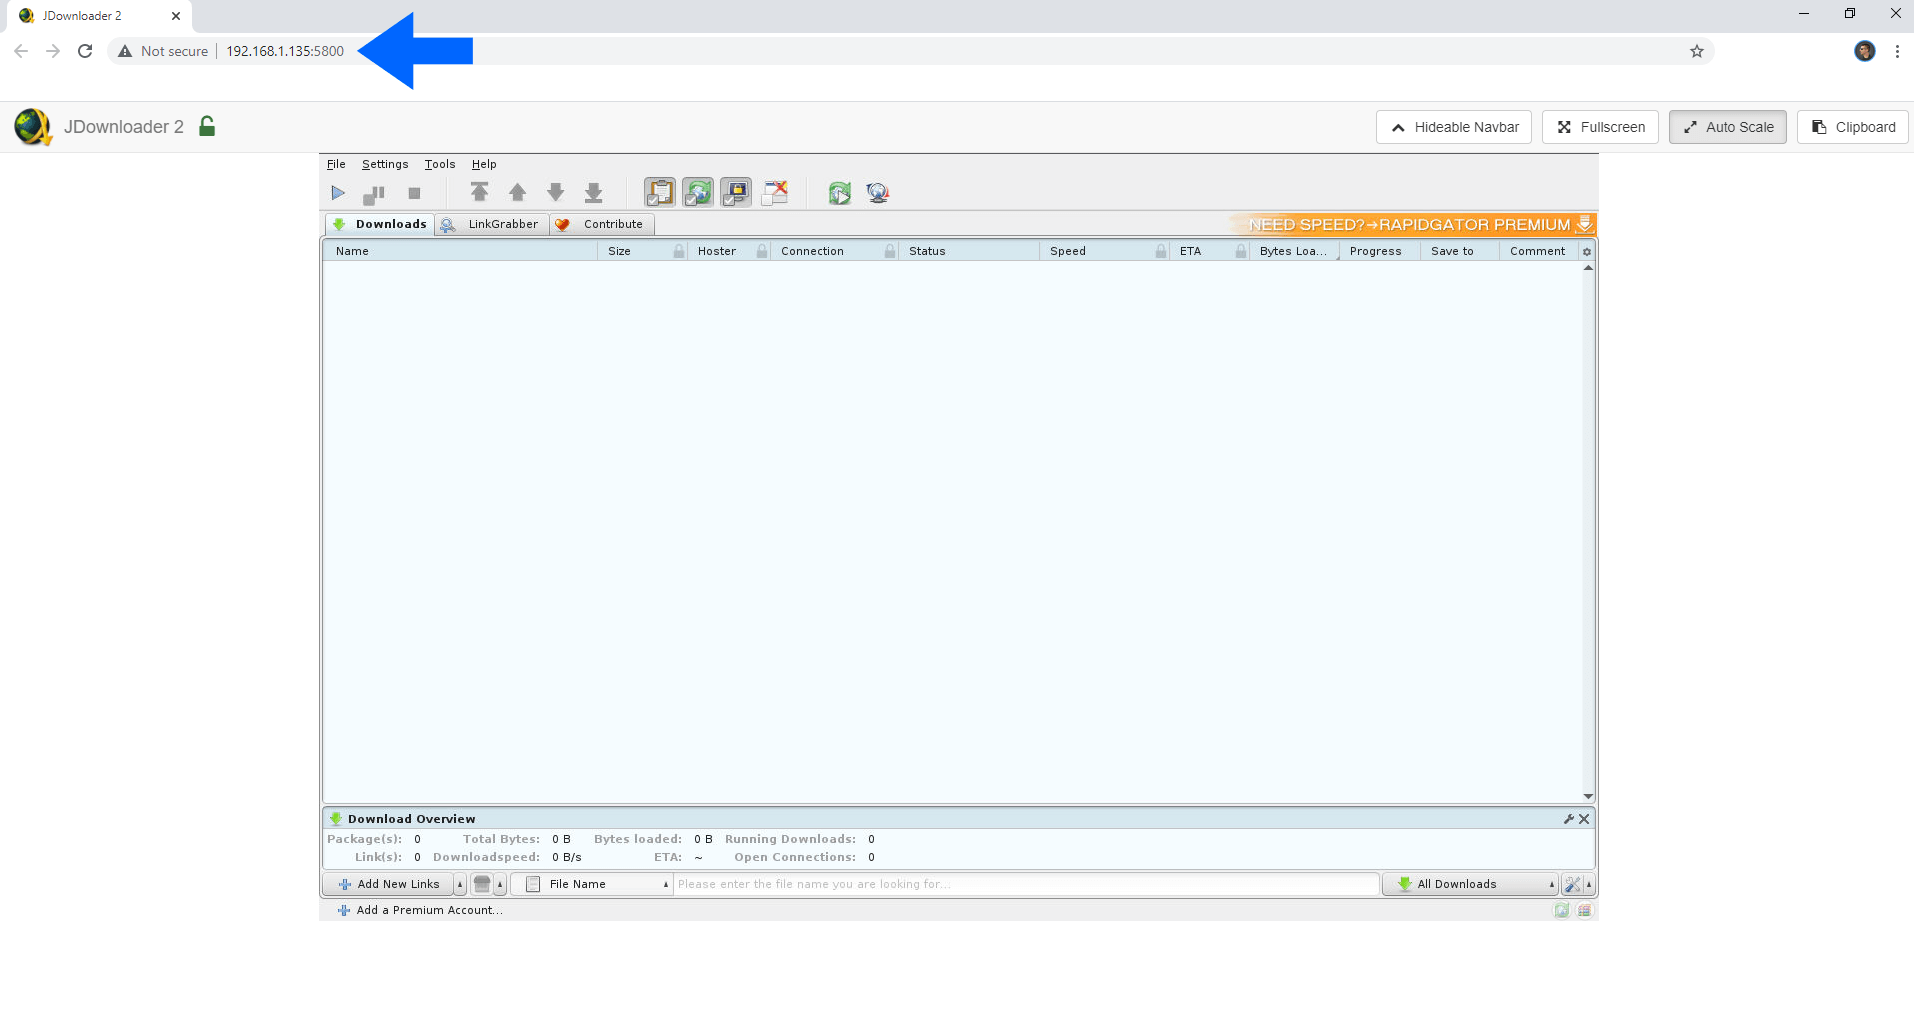
STEP 11
Click on Clipboard at the top right of the page to paste a link, then Submit. Follow the instructions in the image below.

Aucun commentaire:
Enregistrer un commentaire